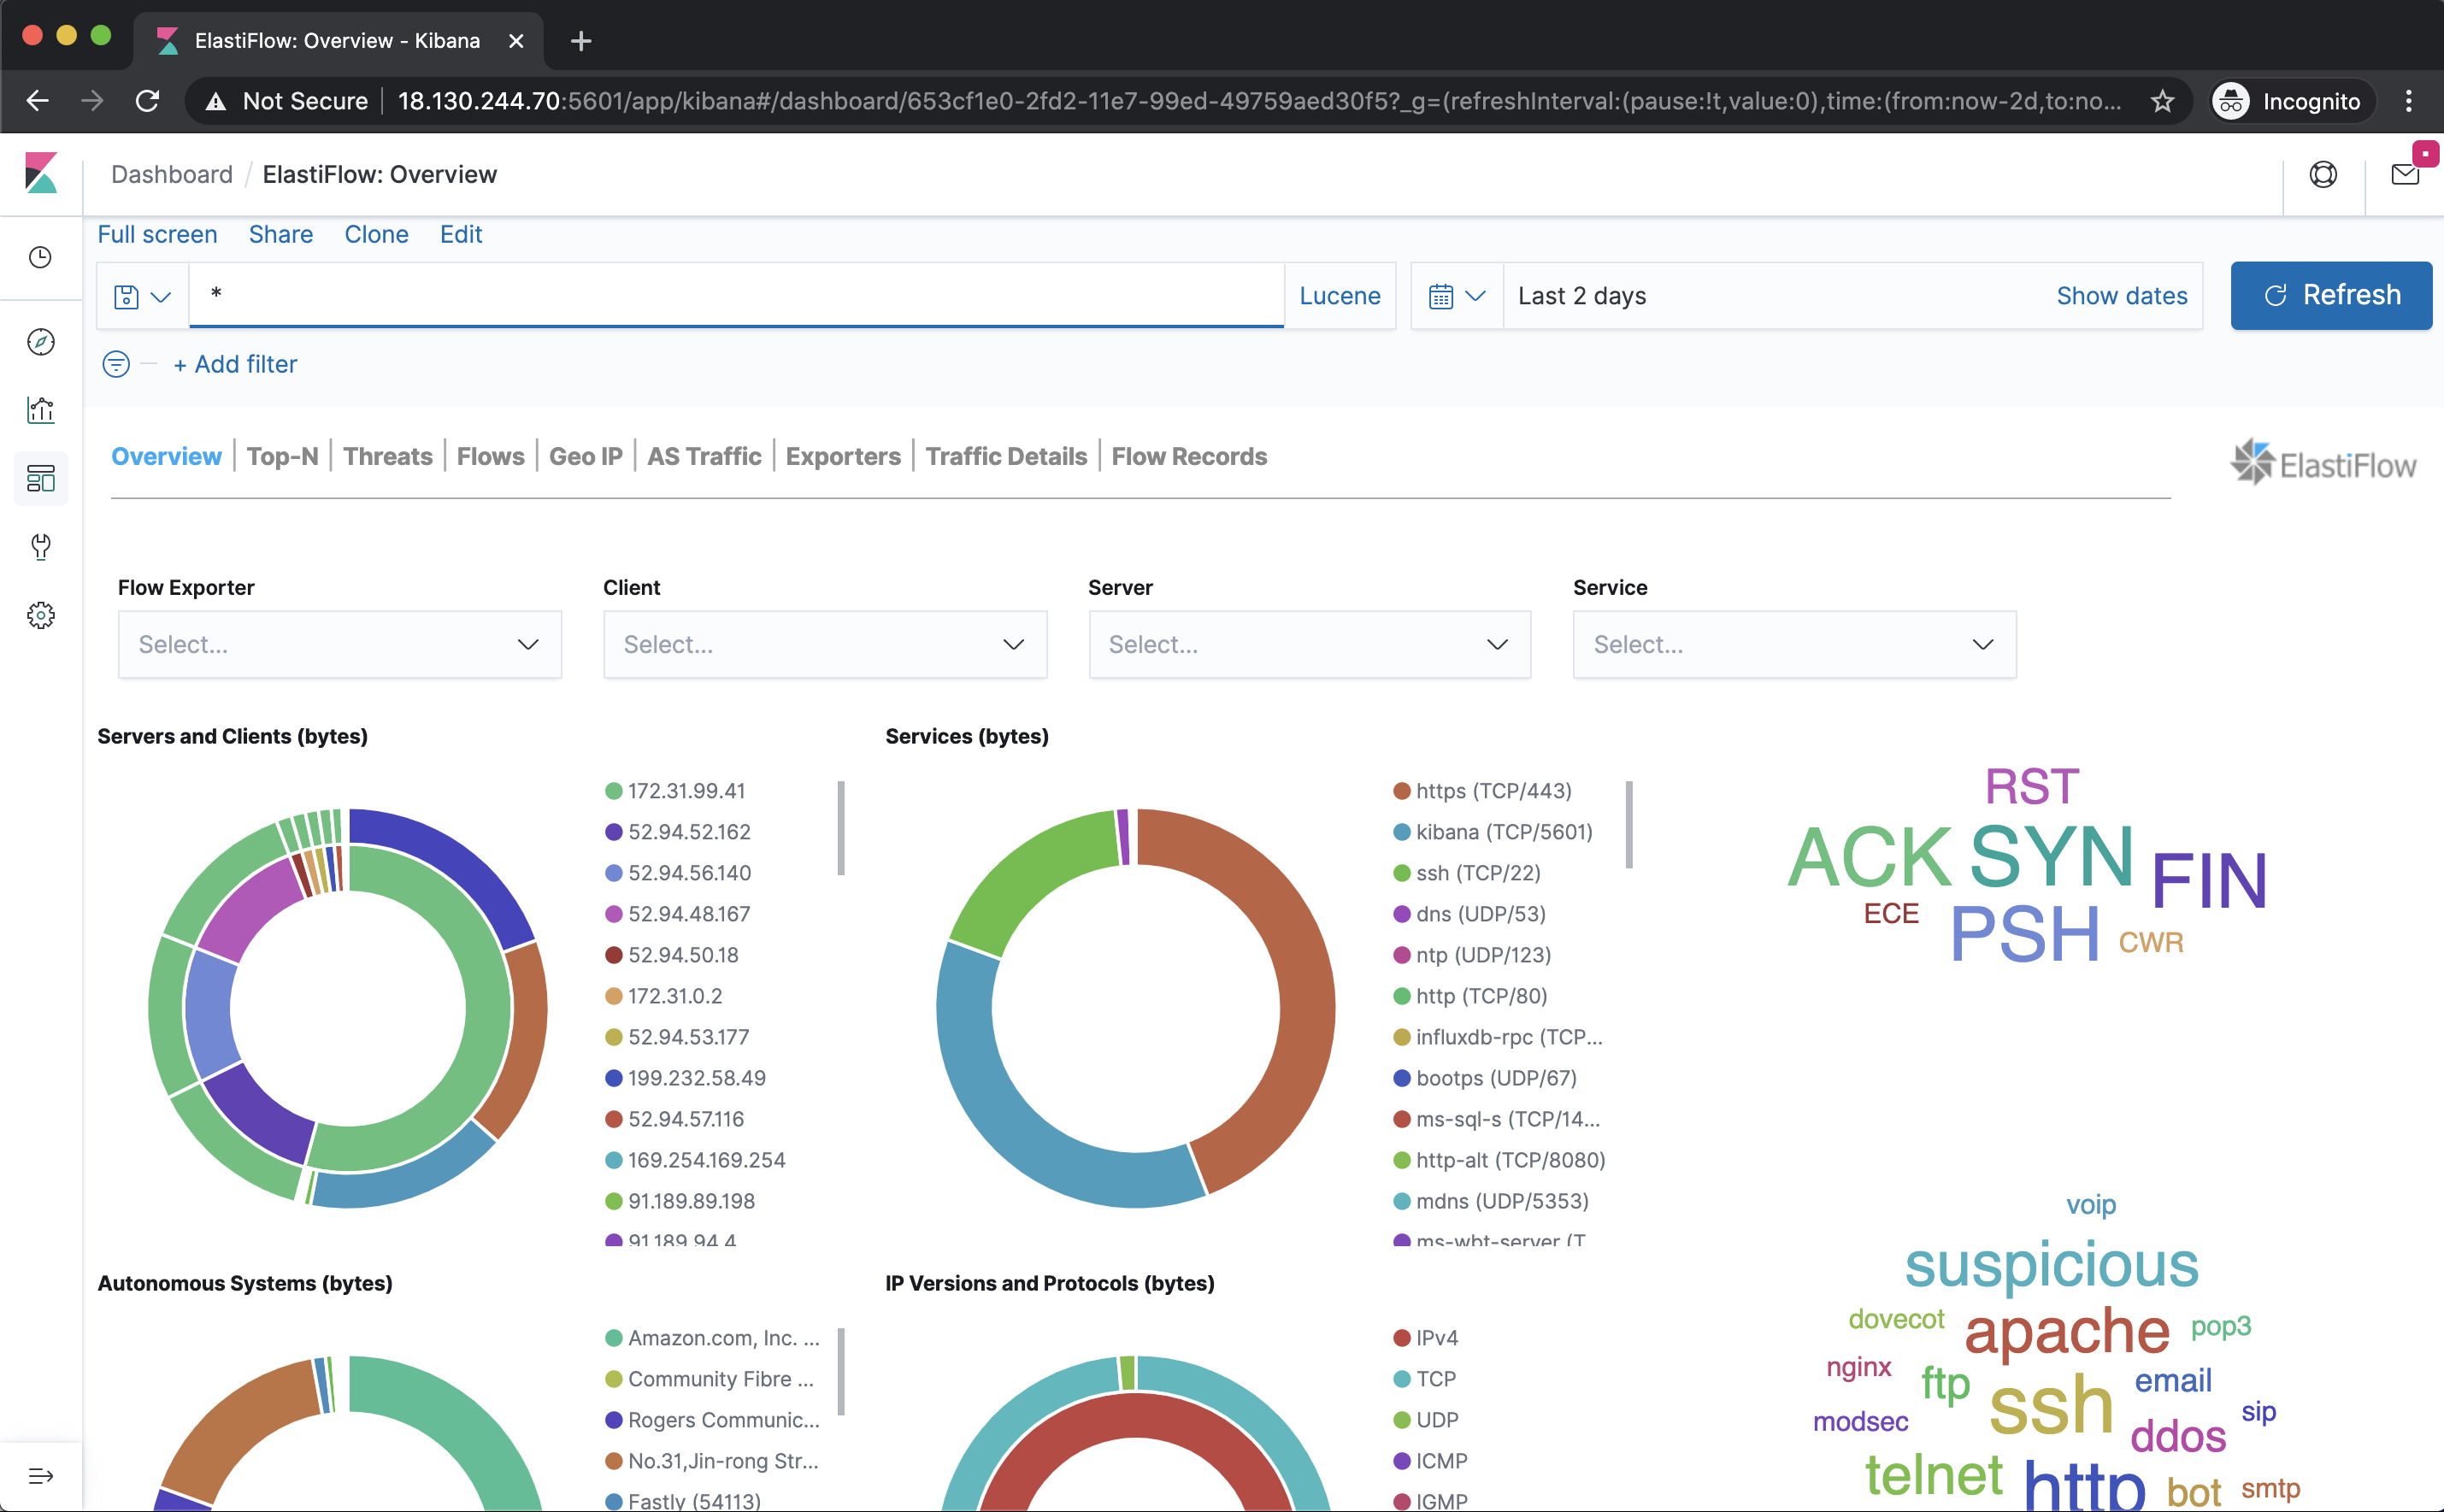
ElastiFlow™ provides network flow data collection and visualization using the Elastic Stack (Elasticsearch, Logstash and Kibana). It supports Netflow v5/v9, sFlow and IPFIX flow types (1.x versions support only Netflow v5/v9). This is an opensource project maintained by Rob Cowart and a really good alternative to compared other commercial NetFlow collectors.
Best way to get started with ElastiFlow is to run this in a container. I have put together an ansible playbook that will take care of deploying this for you.
$ git clone https://github.com/ahmedjama/ansible-elastiflow-docker

$ cd ansible-elastiflow-docker/
The ansible playbook will also deploy softflowd which is a flow-based network traffic analyser capable of exporting NetFlow. This will install the flow exporter on the same docker host and export the NetFlow to ElastiFlow container. This will save you from configuring NetFlow on a network equipment in order to quickly get started with ElastiFlow.
So to recap the playbook will do the following
- Install docker
- Run containers needed for ElastiFlow
- Install softflowd and export NetFlow to ElastiFlow
Requirements
-
Docker host
- Ubuntu 20.04
- 2vCPU / 4GB RAM / 20G disk
-
Ansible machine
- ansible 2.9.10
- python 3.8 and up
Playbook structure
├── LICENSE
├── README.md
├── ansible.cfg
├── deploy.yml
├── hosts
└── roles
    ├── common
    │   └── tasks
    │       └── main.yml
    ├── docker
    │   └── tasks
    │       └── main.yml
    ├── elasticsearch
    │   └── tasks
    │       └── main.yml
    ├── elastiflow
    │   └── tasks
    │       └── main.yml
    ├── kibana
    │   └── tasks
    │       └── main.yml
    └── misc
        ├── files
        │   └── default.conf
        ├── handlers
        │   └── main.yml
        └── tasks
            └── main.yml
Running the playbook
Edit the inventory file hosts and replace the flowing with details of your Docker host. This can be EC2 instance instance in the cloud or VM running locally.
[server]
dockerhost01 ansible_host=<ip> ansible_user=<username> ansible_password=<pass> ansible_become_pass=<pass>- ansible_host=
- ansible_user=
- ansible_password=
- ansible_become_pass=
After you edit these run the playbook
$ ansible-playbook deploy.ymlThe playbook will execute the following tasks in sequence. Once the playbook completes, connect to http://dockerhost:5601 where dockerhost is the IP address of your docker machine.
$ ansible-playbook deploy.yml --list-tasks
playbook: deploy.yml

  play #1 (server): server      TAGS: []
    tasks:
      common : create elastiflow data folder    TAGS: [common]
      docker : install aptitude using apt       TAGS: [docker]
      docker : install required system packages TAGS: [docker]
      add docker gpg apt key    TAGS: [docker]
      add docker repository     TAGS: [docker]
      update apt and install docker-ce  TAGS: [docker]
      install docker module for python  TAGS: [docker]
      run the elasticsearch container   TAGS: [elasticsearch]
      run kibana container      TAGS: [kibana]
      run elastiflow container  TAGS: [elastiflow]
      misc : install softflowd  TAGS: [misc]
      misc : configure softflowd        TAGS: [misc]
      misc : pause play until url is reachable from this host   TAGS: [misc]
      misc : download dashboards        TAGS: [misc]
      misc : upload the dashboards to kibana    TAGS: [misc]
      misc : get the public ip address of the server    TAGS: [misc]
      debug     TAGS: [misc]